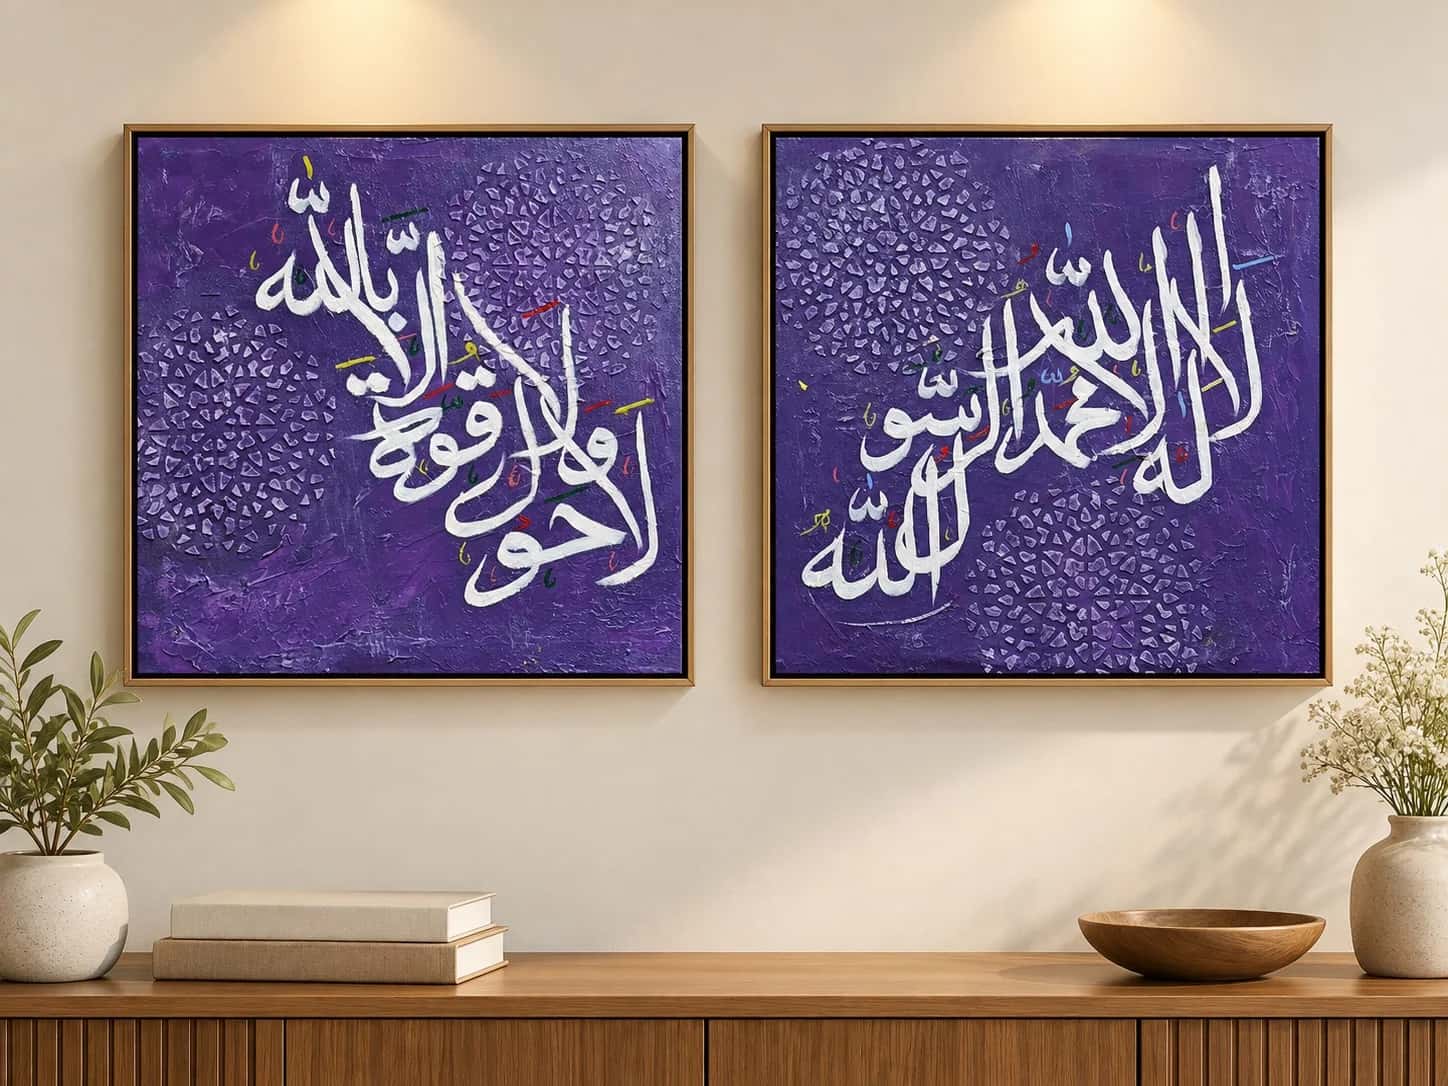
Diptychs, Triptychs and Sets: How to Hang Multi-Panel Wall Art

A set of canvases can fill a wide wall more gracefully than one very large painting, and it is easier to carry up the stairs. The difficulty is hanging it: two or three pieces that are slightly uneven look worse than one piece that is slightly off-centre. This guide explains the terms and gives a method that works.
The terms
- Diptych: an artwork in two panels. Browse two-piece wall art.
- Triptych: an artwork in three panels. Browse three-piece canvas art.
- Set: any group made to hang together, such as the Panjtan Pak five-piece set. See calligraphy sets.
In some sets the image or the lettering flows across the panels. In others each panel is complete in itself, like the La Hawla and Kalima diptych. The first kind must hang in a fixed order; the second gives you more freedom.
Rule 1: treat the set as one artwork
Measure the whole group, including the gaps, and treat that rectangle as a single painting. Above a sofa, bed or console, the group should be about two thirds to three quarters of the furniture's width, and its centre should sit at eye level, about 145 to 150 cm from the floor, or 15 to 25 cm above the furniture. The size guide has room-by-room measurements.
Rule 2: keep the gaps small and equal
For most sets a gap of 5 to 8 cm between panels looks right. Smaller canvases can sit closer, at 3 to 5 cm. If the image continues across the panels, keep the gap narrow so the eye joins it up easily. Whatever you choose, make every gap identical. Cut a strip of card to the gap width and use it as a spacer.
Rule 3: when the text flows, check the order
Arabic is read from right to left. In a set where the calligraphy runs across panels, the first words are usually on the right-hand panel. If you cannot read the script, ask the seller for a photograph of the set in the correct order and keep it on your phone while you hang.
A method that works
- Make paper templates. Trace each canvas onto newspaper or brown paper and cut it out. Mark where the hook or wire sits on the back.
- Tape the templates to the wall. Use low-tack tape. Start with the centre panel, then add the others with your spacer. Step back and adjust until it looks right.
- Check with a level. Run a spirit level along the top edges of the templates.
- Fix through the paper. Drill or nail through the hook marks, then tear the paper away and hang the canvases.
- Fine-tune. Small felt pads on the lower back corners stop panels tilting and protect the wall.
Layouts to consider
- Side by side: the standard arrangement for a sofa or bed wall.
- Stacked: two landscape panels, one above the other, for a narrow wall between doors or windows.
- Stepped: panels rising with a staircase, each one higher than the last by the same amount.
- Tall centre: in a five-piece set, the middle panel is often the tallest, with the others stepping down on each side.
Fixings
Use the same type of fixing for every panel so they sit at the same distance from the wall. For brick and concrete walls and heavier pieces, see our step-by-step guide to hanging a canvas.
Sources
- Measurements follow common gallery practice; see the InkByHand size guide.
Artwork in this article